Microsoft Teamsの特定チャネルのいいねをした人ランキングを作成しよう!その4(最終回)~Microsoft Flowを使ってTeamsメッセージを取得しいいね数を数えてみよう~
※かなり雑な記事になっています。徐々に修正予定。
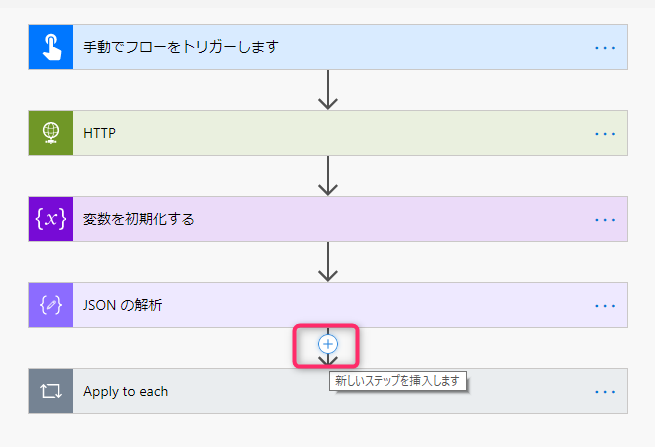
前回までに作成したフローを修正します
JSON解析の後にある+をクリックし、制御 Apply to eachを追加します

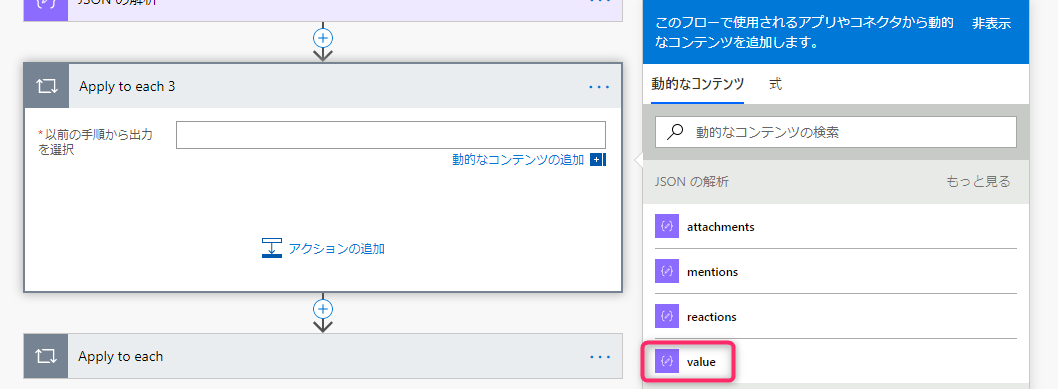
JSONの解析からvalueを選択します
【アクションの追加】をクリックします
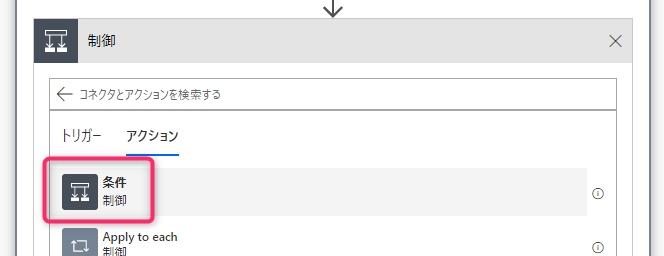
制御 → Apply to eachを選択します
reactionsを選択

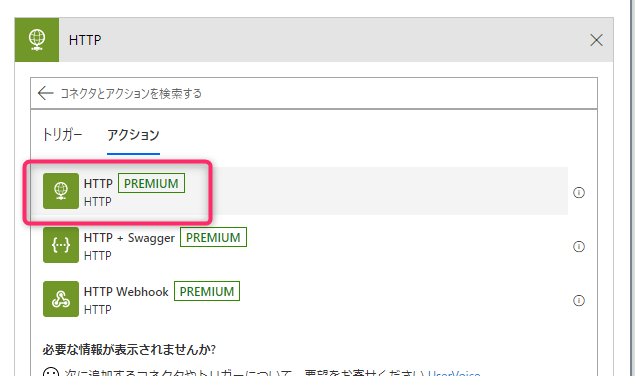
HTTPを選択します
以下のように入力していきます
| 方法 | GET |
| https://graph.microsoft.com/beta//teams/TeamsのオブジェクトID/channels/控えたチャネルID/messages/JSON解析にあるID/replies
その2で取得したものに続ける形です |
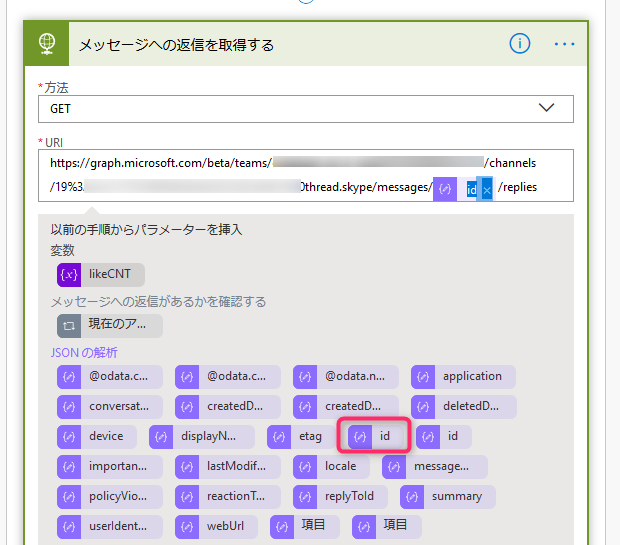
認証からシークレットまではその2で設定したものと同じものを指定します。
外側のアクションの追加をクリックします
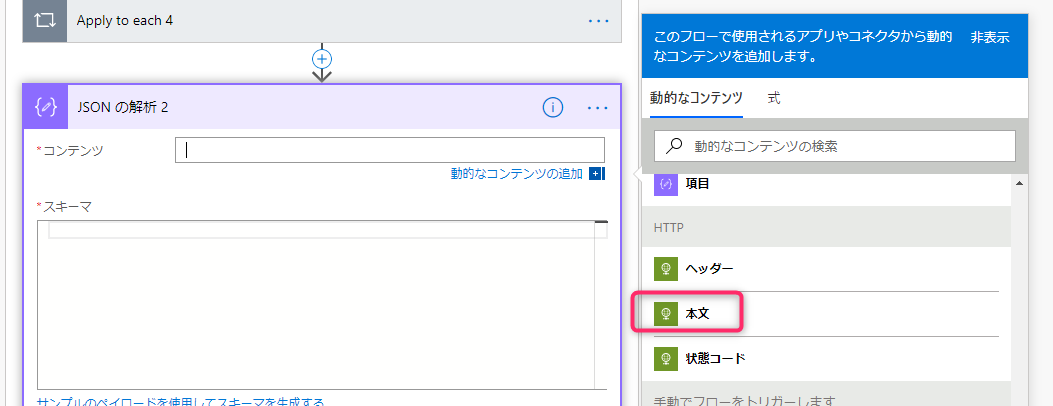
データ操作→JSONの解析をクリックします
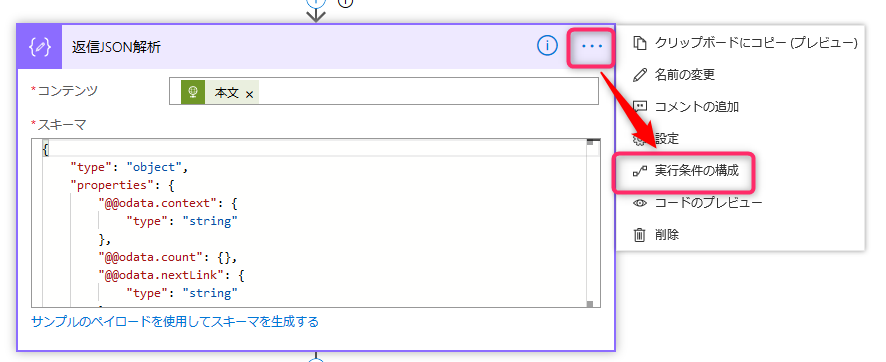
コンテンツに本文を選択し、スキーマには下記のように入力します
{
    "type": "object",
    "properties": {
        "@@odata.context": {
            "type": "string"
        },
        "@@odata.count": {},
        "@@odata.nextLink": {
            "type": "string"
        },
        "value": {
            "type": "array",
            "items": {
                "type": "object",
                "properties": {
                    "id": {},
                    "replyToId": {},
                    "etag": {
                        "type": "string"
                    },
                    "messageType": {
                        "type": "string"
                    },
                    "createdDateTime": {
                        "type": "string"
                    },
                    "lastModifiedDateTime": {},
                    "deletedDateTime": {},
                    "subject": {
                        "type": [
                            "string",
                            "null"
                        ]
                    },
                    "summary": {},
                    "importance": {
                        "type": "string"
                    },
                    "locale": {
                        "type": "string"
                    },
                    "webUrl": {
                        "type": "string"
                    },
                    "policyViolation": {},
                    "from": {
                        "type": [
                            "object",
                            "null"
                        ],
                        "properties": {
                            "application": {},
                            "device": {},
                            "conversation": {},
                            "user": {
                                "type": [
                                    "object",
                                    "null"
                                ],
                                "properties": {
                                    "id": {
                                        "type": "string"
                                    },
                                    "displayName": {
                                        "type": "string"
                                    },
                                    "userIdentityType": {
                                        "type": "string"
                                    }
                                }
                            }
                        }
                    },
                    "body": {
                        "type": [
                            "object",
                            "null"
                        ],
                        "properties": {
                            "contentType": {
                                "type": "string"
                            },
                            "content": {
                                "type": [
                                    "string",
                                    "null"
                                ]
                            }
                        }
                    },
                    "attachments": {
                        "type": "array"
                    },
                    "mentions": {
                        "type": "array"
                    },
                    "reactions": {
                        "type": "array",
                        "items": {
                            "type": "object",
                            "properties": {
                                "reactionType": {
                                    "type": "string"
                                },
                                "createdDateTime": {
                                    "type": "string"
                                },
                                "user": {
                                    "type": "object",
                                    "properties": {
                                        "application": {},
                                        "device": {},
                                        "conversation": {},
                                        "user": {
                                            "type": "object",
                                            "properties": {
                                                "id": {
                                                    "type": "string"
                                                },
                                                "displayName": {},
                                                "userIdentityType": {
                                                    "type": "string"
                                                }
                                            }
                                        }
                                    }
                                }
                            },
                            "required": [
                                "reactionType",
                                "createdDateTime",
                                "user"
                            ]
                        }
                    }
                },
                "required": [
                    "id",
                    "replyToId",
                    "etag",
                    "messageType",
                    "createdDateTime",
                    "lastModifiedDateTime",
                    "deletedDateTime",
                    "subject",
                    "summary",
                    "importance",
                    "locale",
                    "webUrl",
                    "policyViolation",
                    "from",
                    "body",
                    "attachments",
                    "mentions",
                    "reactions"
                ]
            }
        }
    }
}
エラーがでても強制的に実行するように、実行条件の構成を変更します
…をクリックし、【実行条件の構成】をクリックします
「に失敗しました」にチェックを入れ、【完了】をクリックします

アクションの追加をクリックします
制御 → 条件をクリックします
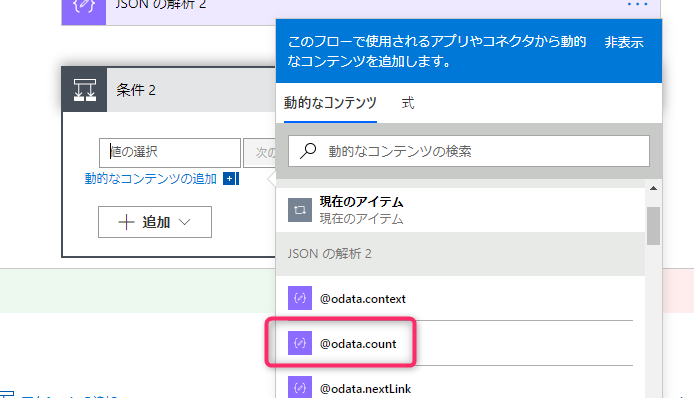
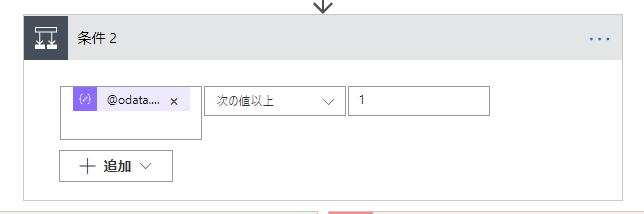
値の選択に、odata.countを選択します
次の値以上、値の選択に1と入力します
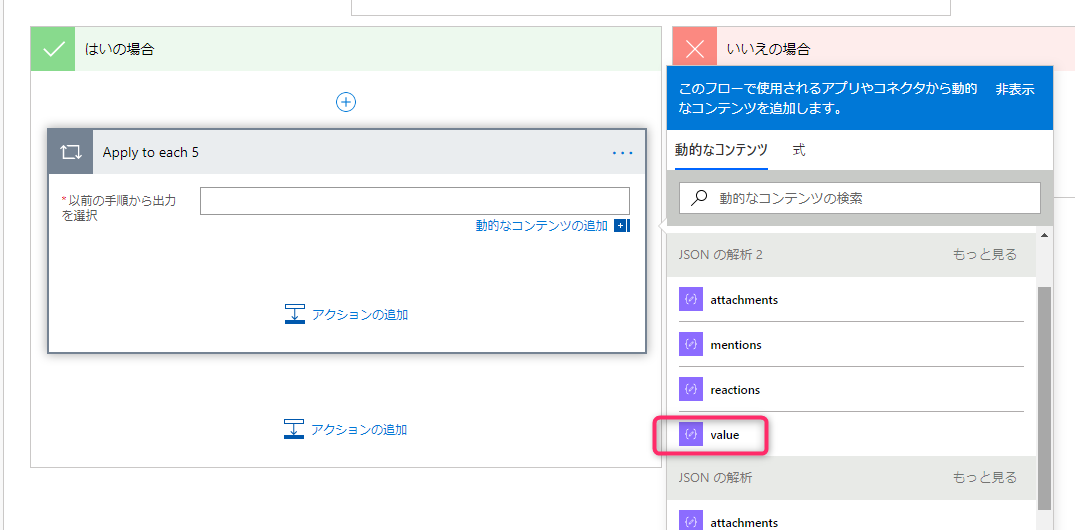
はいの場合に、アクションを追加します。
制御→Apply to eachを選択します
今回追加した側のJSON解析のvalueを選択します
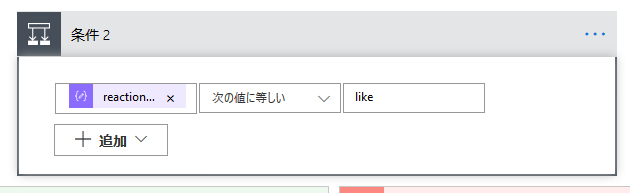
制御→条件を追加します。
reactionTypeを選択し、「次の値に等しい」 like (まだいいねしかないときだったので決め打ちしてました)
はいの場合
確認用尾に変数の値を増やすを追加(なくてもいいです)
JSONの解析を追加
コンテンツに userを選択
スキーマに下記のように入力します
{
    "type": "object",
    "properties": {
        "application": {},
        "device": {},
        "conversation": {},
        "user": {
            "type": "object",
            "properties": {
                "id": {},
                "displayName": {},
                "userIdentityType": {
                    "type": "string"
                }
            }
        }
    }
}
いいねしたユーザのオブジェクトIDしかTeasmAPIは表示しないため、GraphAPIを叩いてdisplaynameを取得します。
HTTPを追加
| 方法 | GET |
| https://graph.microsoft.com/v1.0/users/@{body(‘JSON_の解析_2’)?[‘user’]?[‘id’]} | |
| 認証 | Active Directry OAuth |
その他必要な情報はその2のときと同じものを利用します
JSONの解析を追加
コンテンツに、displaynameを取得するために設定したHTTPの本文を指定
スキーマに以下のように入力します
{
    "type": "object",
    "properties": {
        "@@odata.context": {
            "type": "string"
        },
        "businessPhones": {
            "type": "array",
            "items": {
                "type": "string"
            }
        },
        "displayName": {
            "type": "string"
        },
        "givenName": {
            "type": "string"
        },
        "jobTitle": {
            "type": "string"
        },
        "mail": {
            "type": "string"
        },
        "mobilePhone": {},
        "officeLocation": {
            "type": "string"
        },
        "preferredLanguage": {},
        "surname": {
            "type": "string"
        },
        "userPrincipalName": {
            "type": "string"
        },
        "id": {
            "type": "string"
        }
    }
}
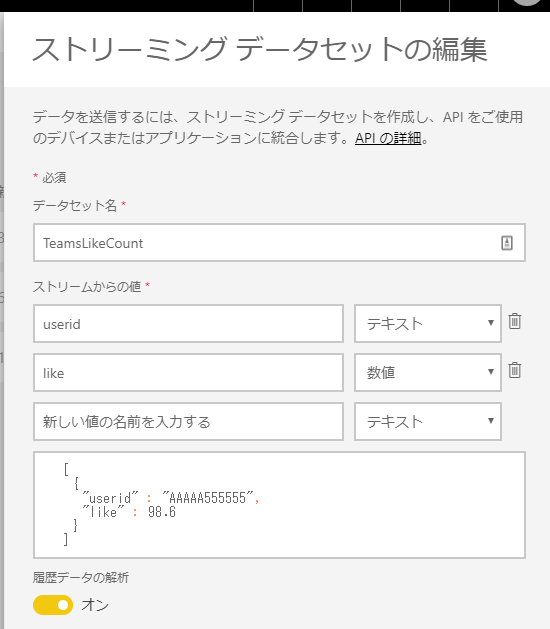
カウントするためにPowerBIを今回は使ってみました
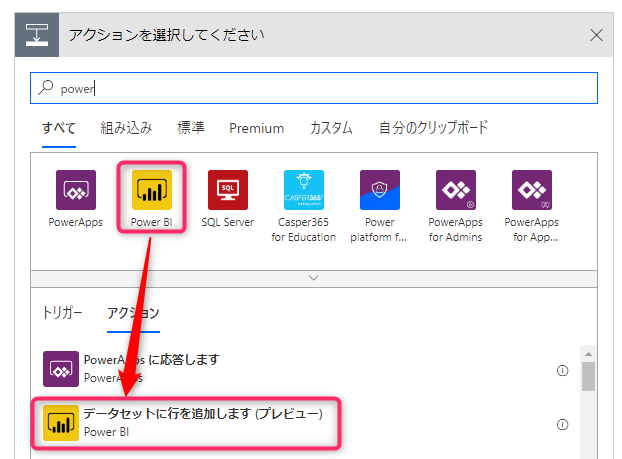
データセットなどは先にPowerBI側で作成しておきます。
その3で取得した親スレッド側いいねカウントにも同様にPowerBIデータセットに行追加を追加し実行することで誰のいいねが多いのかわかると思います
PowerBIまだあまりちゃんと理解できていないのですが、データセットはこんな形でとりあえず設定してみてます