Zoomの録画データをPower Automateを使ってGoogleドライブへ保存する
zoomの録画データをGoogleドライブに保存してみようと思いやってみました
完成した後に気づいたのですが、Power AutomateのHTTPコネクタでもってこれるデータが100MBまででした・・・
ので、長いミーティングの場合はエラーになりますので、素直にスクリプトをつくって対応したほうがいいかと思います
作る前に制限事項はちゃんと確認しようね!(でもやってみたかったんだYO!)
あとZoom側もSlackと同様に3秒以内に応答がないと失敗とみなされます。(素直にスクリ(ry
必要なもの
- heroku(無料プランで可)
- Power Automateプレミアムコネクタが利用可能なライセンス
- Zoom有料プラン
なぜheroku?
ZoomのWebhookからの値をそのままPower Automateの受信要求に飛ばすとこんなエラーが表示されてしまいます
responseData: {
error: {
code: "DirectApiRequestHasMoreThanOneAuthorization",
message: "The request has both SAS authentication scheme and 'uEBQwPmSQGuiSVc7zM9OBw' authorization scheme. Only one scheme should be used."
}
ので、すんごい無駄なことしてるなーと思いつつPythonスクリプトで、受信してデータをそのままPower Automate側に受け渡しています
ここどうしたら解消されるのか誰か教えてください・・
Power Automateでフローを作成する
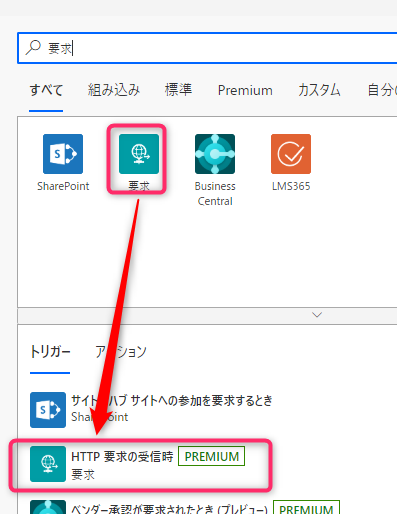
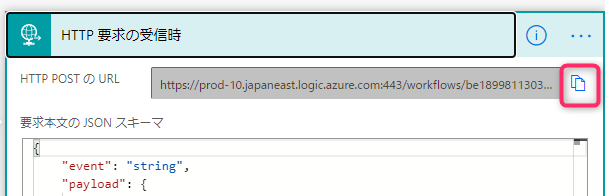
HTTP要求の受信時トリガー
- WebhookからのURLを受け取るため、「HTTP要求の受信時」トリガーを選択します

- 「要求本文のJSONスキーマー」に以下の内容を入力し保存します
{ "event": "string", "payload": { "account_id": "string", "object": { "id": "integer", "uuid": "string", "host_id": "string", "topic": "string", "type": "integer", "start_time": "string", "timezone": "string", "host_email": "string", "duration": "integer", "share_url": "string", "total_size": "integer", "recording_count": "integer", "recording_files": [ { "id": "string", "meeting_id": "string", "recording_start": "string", "recording_end": "string", "file_type": "string", "file_size": "number", "play_url": "string", "download_url": "string", "status": "string", "recording_type": "string" } ] } } } - 【新しいステップ】をクリックします
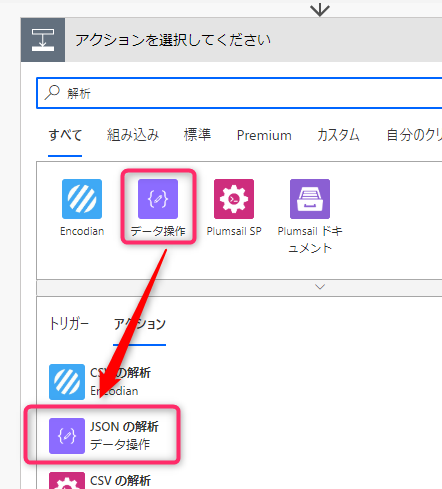
JSONの解析
次に受信したJSONファイルを解析します
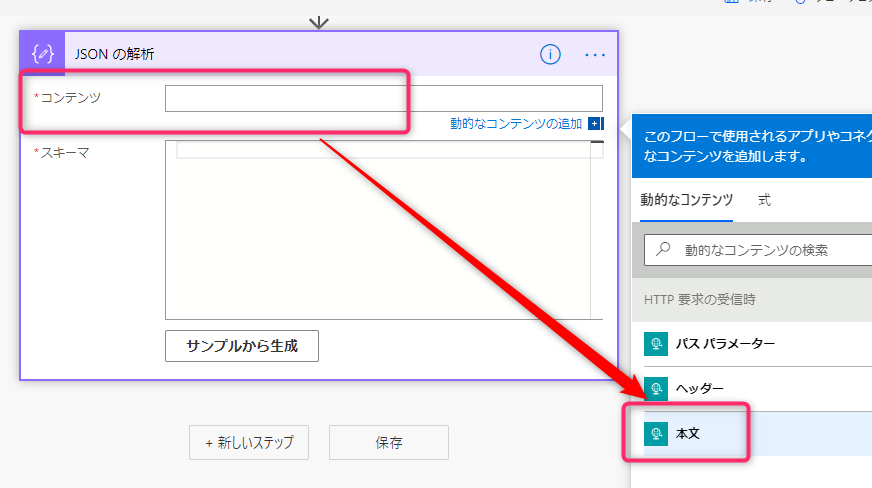
- 【JSONの解析】アクションを検索しクリックします
- コンテンツにフォーカスをあわせ、表示される【本文】をクリックします
- スキーマーに以下の内容を入力します
{
    "type": "object",
    "properties": {
        "event": {
            "type": "string"
        },
        "payload": {
            "type": "object",
            "properties": {
                "account_id": {
                    "type": "string"
                },
                "object": {
                    "type": "object",
                    "properties": {
                        "uuid": {
                            "type": "string"
                        },
                        "id": {
                            "type": "integer"
                        },
                        "account_id": {
                            "type": "string"
                        },
                        "host_id": {
                            "type": "string"
                        },
                        "topic": {
                            "type": "string"
                        },
                        "type": {
                            "type": "integer"
                        },
                        "start_time": {
                            "type": "string"
                        },
                        "timezone": {
                            "type": "string"
                        },
                        "host_email": {
                            "type": "string"
                        },
                        "duration": {
                            "type": "integer"
                        },
                        "total_size": {
                            "type": "integer"
                        },
                        "recording_count": {
                            "type": "integer"
                        },
                        "share_url": {
                            "type": "string"
                        },
                        "recording_files": {
                            "type": "array",
                            "items": {
                                "type": "object",
                                "properties": {
                                    "id": {
                                        "type": "string"
                                    },
                                    "meeting_id": {
                                        "type": "string"
                                    },
                                    "recording_start": {
                                        "type": "string"
                                    },
                                    "recording_end": {
                                        "type": "string"
                                    },
                                    "file_type": {
                                        "type": "string"
                                    },
                                    "file_size": {
                                        "type": "integer"
                                    },
                                    "play_url": {
                                        "type": "string"
                                    },
                                    "download_url": {
                                        "type": "string"
                                    },
                                    "status": {
                                        "type": "string"
                                    },
                                    "recording_type": {
                                        "type": "string"
                                    }
                                },
                                "required": [
                                    "meeting_id",
                                    "recording_start",
                                    "recording_end",
                                    "file_type",
                                    "download_url"
                                ]
                            }
                        },
                        "password": {
                            "type": "string"
                        }
                    }
                }
            }
        },
        "download_token": {
            "type": "string"
        }
    }
}
リダイレクトされていた・・・
テストで作成したHTTPコネクタが失敗してるなと思い見てみると302が返ってきていました
そのため、フローにリダイレクト後URL取得用変数を追加します
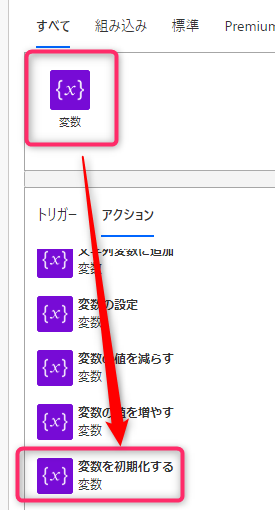
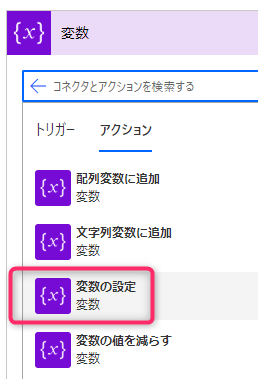
- 【新しいステップ】を追加します
- 【変数を初期化する】アクションをクリックします
- 以下のような形で変数を初期化します(名前は自由にきめてください)

配列処理をしダウンロードURL等を取得する
Zoomの設定にもよりますが、Zoomでは以下のようにそれぞれを録画することができます
ここでチェックを入れた分だけの録画ファイルが作成されてきます。
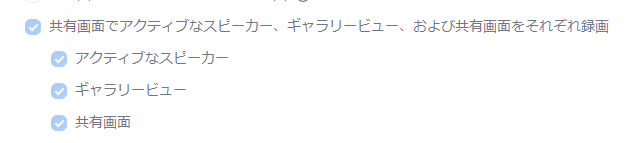
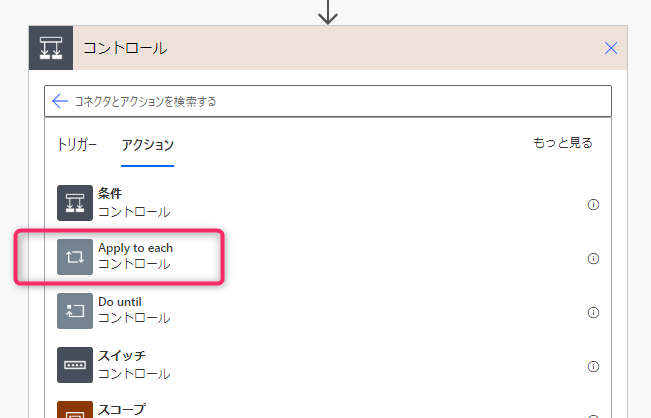
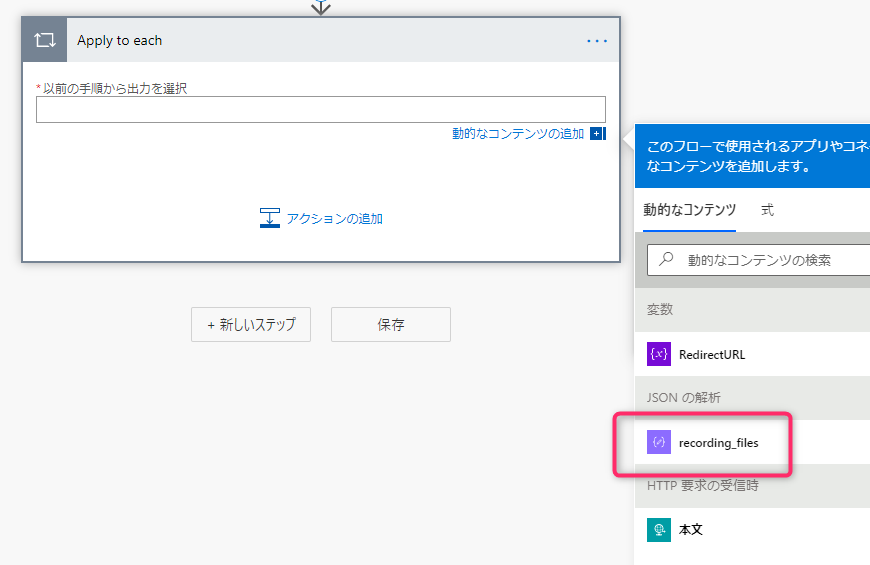
そのため、配列に入ってくるので、Apply to eachアクションを追加します
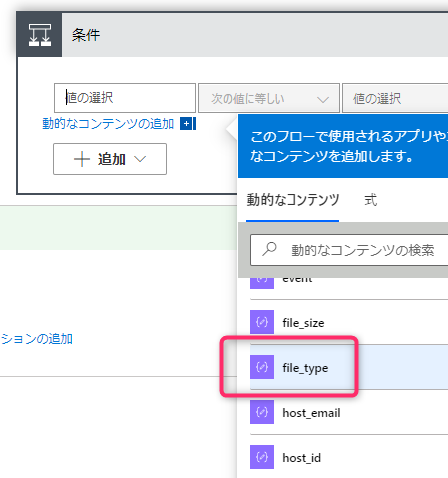
- 「以前の手順から出力を選択」に「recording_files」を選択します
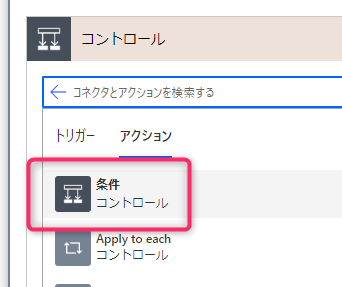
- 動画ファイルだけを今回は対象にしたいので、条件アクションを追加します
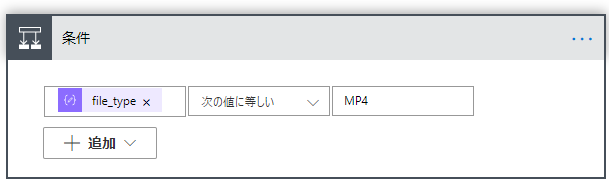
- 以下のような条件を設定します
file_typeが次の値に等しい MP4
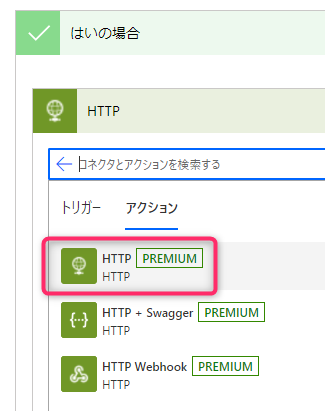
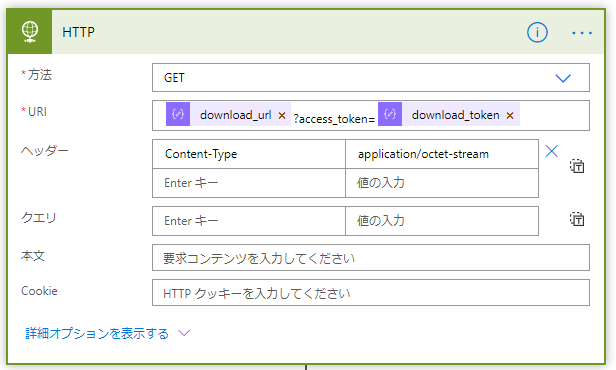
- 「はい」の場合に、「HTTP」アクションを追加します
- 以下のように設定します
ヘッダーはなくても大丈夫かも方法 GET URI @{items(‘Apply_to_each’)?[‘download_url’]}?access_token=@{body(‘JSON_の解析’)?[‘download_token’]} ヘッダー Content-Type application/octet-stream - 「変数の設定」アクションを追加します
(このアクションを追加する前にHTTPステータスコードが302であるならばという条件を入れたほうがいいかもしれません)
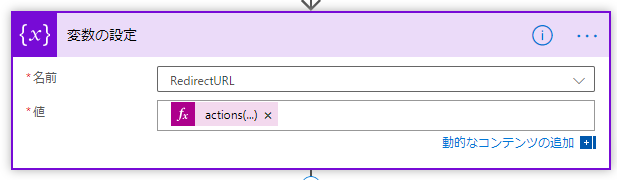
- 以下のように設定します
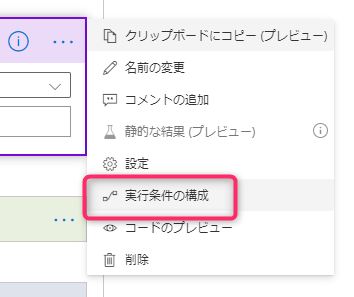
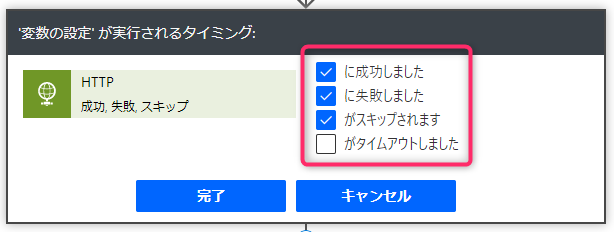
名前 事前に設定した変数の名前を選択 値 @{actions(‘HTTP’).outputs.headers.Location} - 3つの点アイコンをクリックします
- 【実行条件の構成】をクリックします
- 「に失敗しました」「スキップされます」にチェックをつけて【完了】をクリックします
(HTTPがアクションが302を返すとそこでアクションが停止してしまうため、失敗してもそのままフローを実行しろという設定にしています)
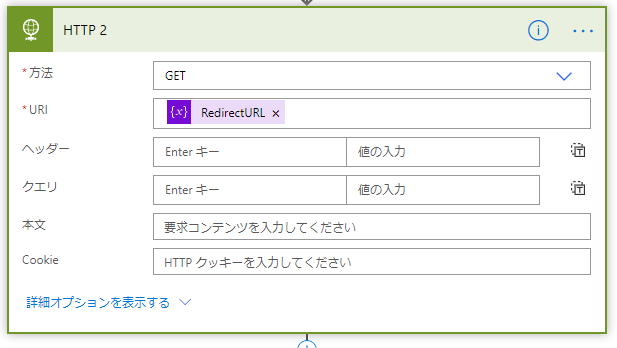
- HTTPアクションを追加します
- 以下のように設定します
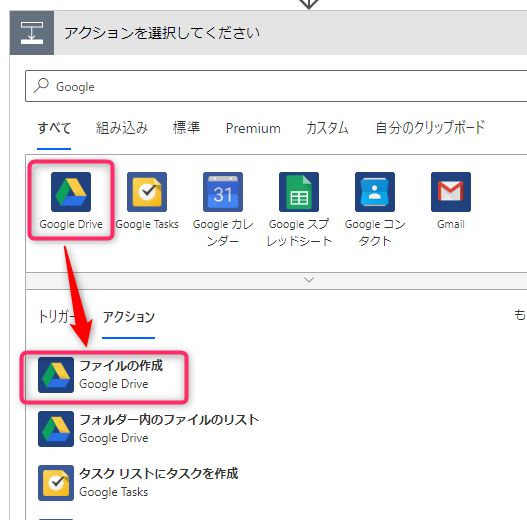
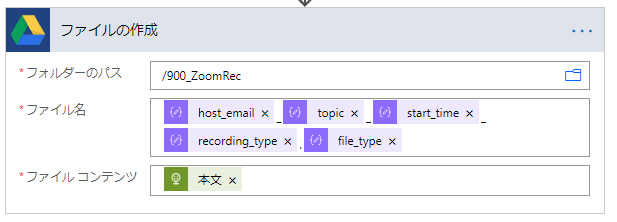
方法 GET URI @{variables(‘RedirectURL’)} - Google Driveの【ファイルの作成】アクションを追加します
- 保存したいGoogleドライブにアクセスできるアカウントでログインします
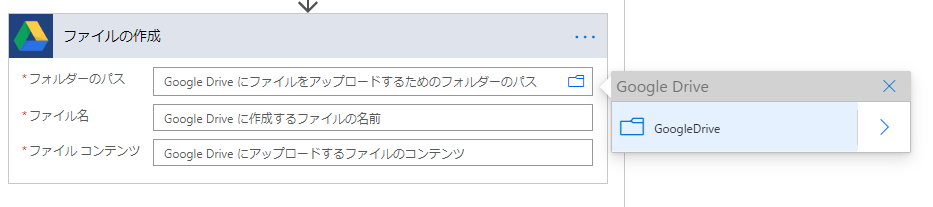
- 保存したいフォルダを選択します
- その他の設定についは以下のようにしてみました。お好みで変更してください
ファイル名 @{body(‘JSON_の解析’)?[‘payload’]?[‘object’]?[‘host_email’]}_@{body(‘JSON_の解析’)?[‘payload’]?[‘object’]?[‘topic’]}_@{body(‘JSON_の解析’)?[‘payload’]?[‘object’]?[‘start_time’]}_@{items(‘Apply_to_each’)?[‘recording_type’]}.@{items(‘Apply_to_each’)?[‘file_type’]} ファイルコンテンツ @{body(‘HTTP_2’)}

橋渡し用Pythonスクリプトを作成する
- 以下の内容でPythonスクリプトを作成します.
responderを利用しているので、pipコマンドでインストールしてください pip3 install responder
GitHubにも置いておいたので、ご自由にお使いくださいimport os import json from pprint import pprint import responder import requests api = responder.API() PA_URL = os.environ['PA_URL'] @api.route('/') async def index(req,resp): if req.method == "get": resp.text = "Zoom" if req.method == "post": req_data = await req.media() print(req_data) headers = {'content-type': 'application/json'} response = requests.post(PA_URL, data=json.dumps(req_data) ,headers=headers) if __name__ == '__main__': api.run(address='0.0.0.0',debug=True) - herokuにアップロードしておきます。
Power Automateに送信するURLを確認する
- 作成したフローの一番上にあるトリガーを開きます
- HTTP POSTのURL横にあるコピーボタンを押しURLをコピーします
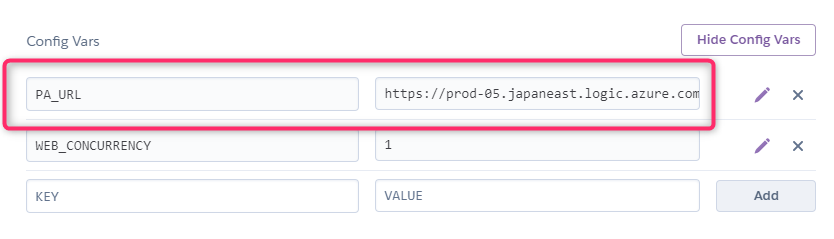
- herokuの環境変数設定にて、コピーしたURLを定義しておきます
ZoomでWebhookを定義する
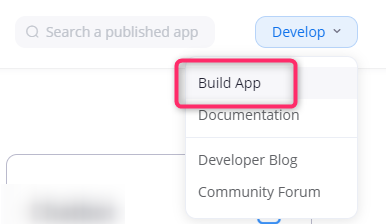
- https://marketplace.zoom.us/ にアクセスしログインします
- 右上の「Develop」→【Build App】をクリックします
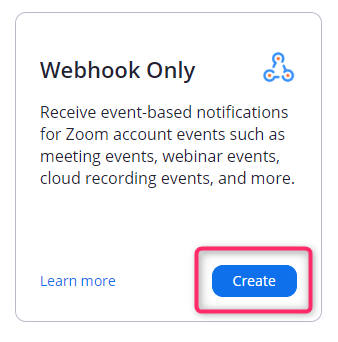
- Webhook Onlyの【Create】をクリックします
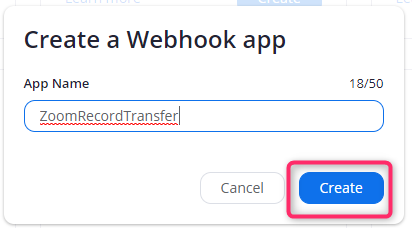
- アプリ名を入力し、【Create】をクリックします
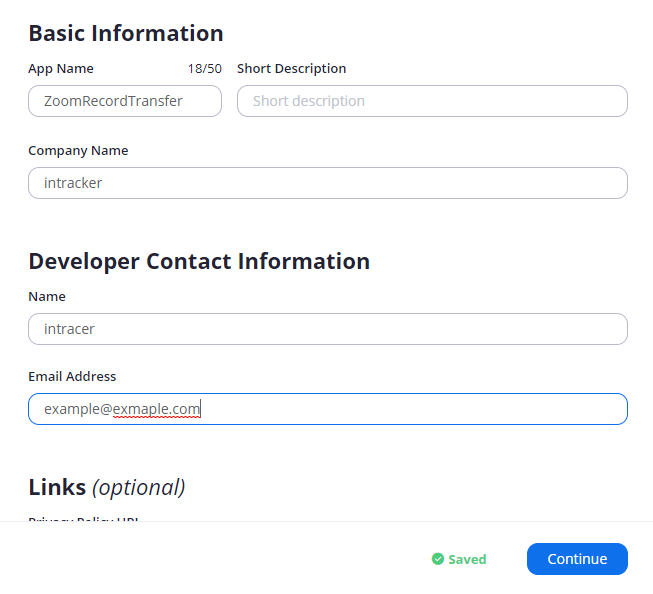
- 必要なフィールドに値を入力し、【Continue】をクリックします
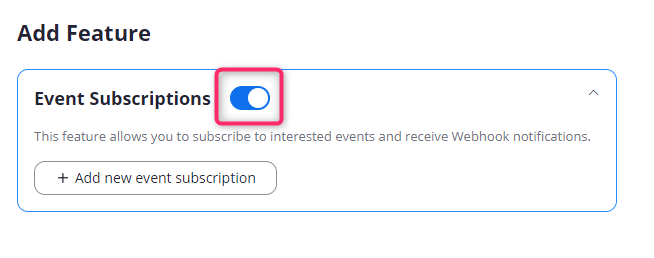
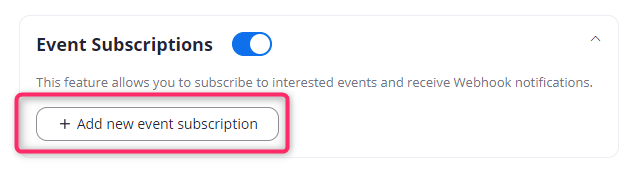
- Event Subscriptionsを有効化します
- 【Add new event subscription】をクリックします
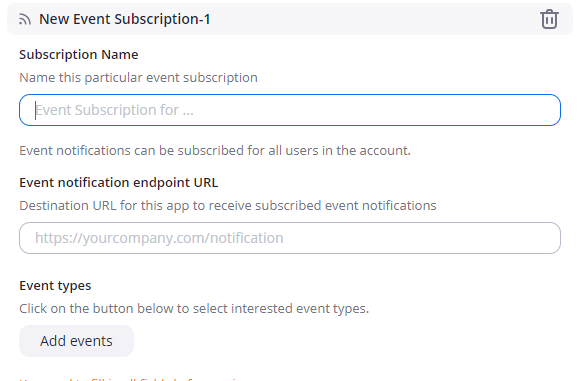
- 好きな名前を入力し、Event notification endpoint URLにはheroku側のURLを設定します
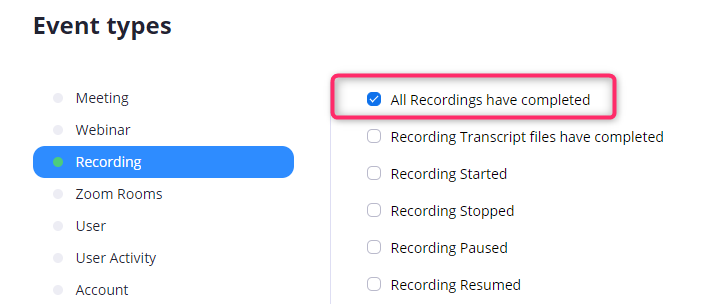
- 【Add events】をクリックします
- 「Recording」を選択し、【All Recordings have completed】にチェックを入れます
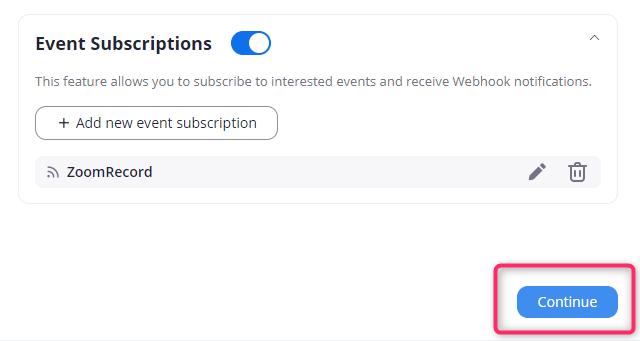
- 【Save】をクリックします
- 【Continue】をクリックします
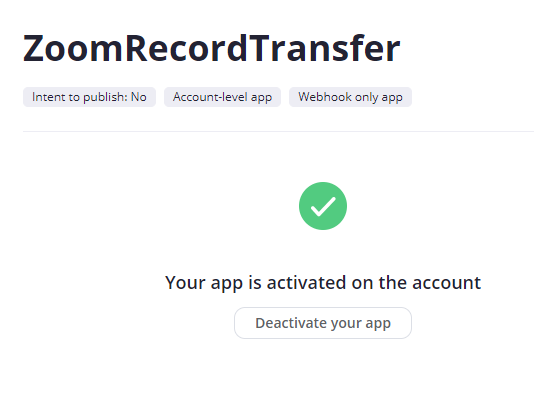
- 完了画面が表示されます
Zoomミーティングを開始しテストしてみる
適当なミーティングをつくり、Zoomミーティングを開始します。
ビデオを有効にしたり、画面共有等をしミーティングを終了させます
しばらくするとWebhookが動作し、Power Automateが動き出すことを確認します
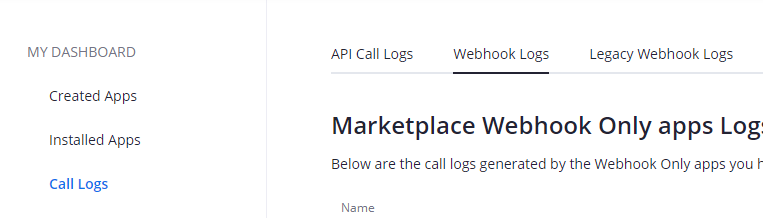
Webhookログを確認する
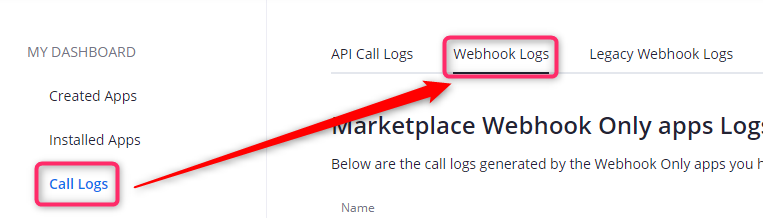
- 右上の【Manage】をクリックします
- 「Call Logs」→「Webhook Logs」タブをクリックします
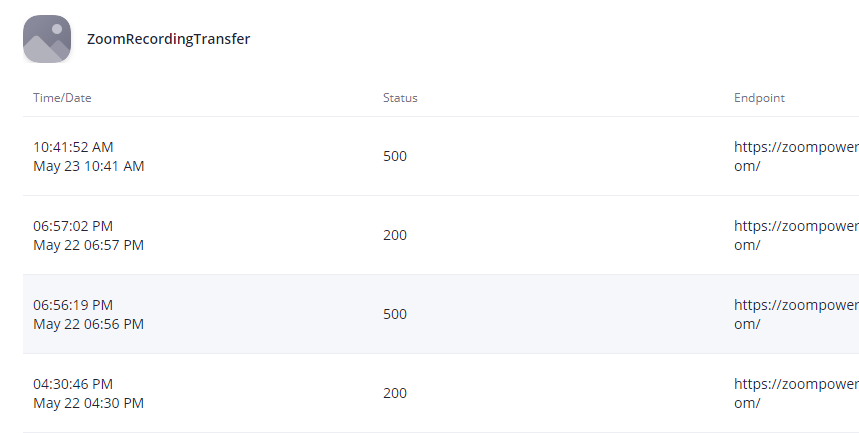
- 作成したアプリ名をクリックします
- Statusコード等が表示されるので、詳細を確認したい行の右にある>をクリックし内容を確認します
- 必要応じてスクリプトやフローを修正します

共有ドライブには保存できない
現状のPower AutomateのGoogleドライブコネクタは共有ドライブに対応していないので、
共有ドライブにファイルを保存することができません(対応してほしい)
そのため、個人ドライブを開いたときにサムネイルで見えてしまいます。
これを回避するためにはAPIで、ファイルを保存しにいかせるしか今のところ手はないかもしれません
色々と制限があるので、あまり使い物にはならないかもしれませんが
GUIでポチポチやるだけでできあがるのは便利です。
Power Automateでできるところはまかせて色々とやってみたいですね

